...
- Navigate to: https://elandings.atlassian.net/wiki/spaces/doc/pages/10427589/Installing+seaLandings+software
- Click on the seaLandings-pws-installer.zip to begin download.


- The download will start, and you will need to select “Open” or “Open when done”.
...
- When the file finishes downloading, a window will open with the zip files in it. To continue, you need to extract these files.


- Select “Extract all” in the opened window. This will open another window where you can choose to save the seaLandings installation files. Save the extracted files to some place they can easily be found again. To choose where to save the files click "Browse"


- When you click “Browse” in the above window a third window will open where you can customize the place the seaLandings installation files will be saved. See screenshot below.


- Select the folder that you would like the files to be saved in. We recommend the a place where you can easily find it again. To close the window and save your selection, click “Select Folder”. Once you are saving your seaLandings installer folder in the desired folder, select the “Extract” button.


Step 2.
- Now you will want to open the installer folder and right click on the Install file
- Select Run as administrator from the pop-up menu.


- A black dos window will pop up - do not close this window as it will cancel the installation process!!!!
- The sealandings Installer dialog box will pop up and request specific information about your operation as shown below.
...
- Select the Transmit type
- File method - creates a zip file of your report which is saved in your transmissions folder and then attached to an email addressed to elecrep@noaa.gov, requires processing of return receipt.
- Direct method - transmits and processes your report via the internet behind the scenes. No email transmission is required!
- User ID - this is the ID entered when the operation was originally created.
- Password/Confirm Password - this is the password used in conjunction with the User ID that was entered when the operation was created.
- Type of Installation - Production is the selection you want to go with.
- Software - If you use sealandings to submit daily production and landing reports then select Sealandings.
- if you only wish to use the sealandings reporting system for the electronic logbook, select Logbook only.
- Archive old reports? - This feature will move everything in your current Reports folder to the Archive folder (C:\ProgramData\sealandings\archive)


- Click on the Install button.
- The sealandings Installer window will turn green after completing file uploads. This indicates that you have successfully installed the software and provide you with a reminder to send an initial transmission file once you have logged into sealandings to request a User Authentication and report numbers.
- Click on Finish to complete the process.


- A sealandings Icon should have been created on your desktop, this is your shortcut to opening the seaLandings program.
...
- Enter your UserID and Password and click on OK to login into seaLandings.

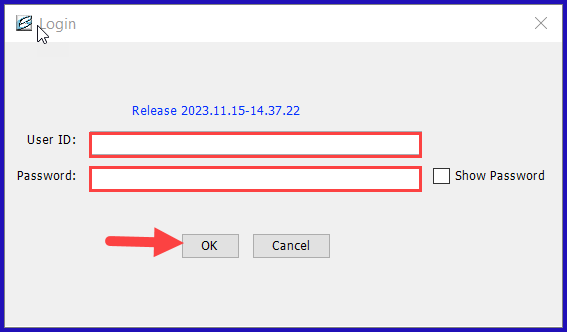
- The version you have for 2023 should be Release 2022.09.20-14.59.09
...