Locate the Processor Tender Interface (PTI) from the icon on your desktop. When you download and install the PTI, an icon will be placed on your desktop.
...
| Note | ||
|---|---|---|
| ||
If you are going to use a USB hub to configure more than one thumb drive at a time, we do recommend using a USB hub with an external power source. |
The PTI operates as a wizard, guiding your thru the steps to configure the thumb drive, screen by screen. Most prompts will be NEXT buttons in the lower right hand corner. When you click on the down arrow boat icon (Prepare files for tender), a dialog box, Tender Configuration, opens with a list of all operations associated with your eLandings user account. You may only have one operation to select.
How to Add a Tender
Once you select the operation, select the tender to begin the configuration process or add a tender.

Add the tender vessel's ADF&G vessel number and the application will locate the name when you hit save. You can also add a password. The default User ID is always TENDERMAN.

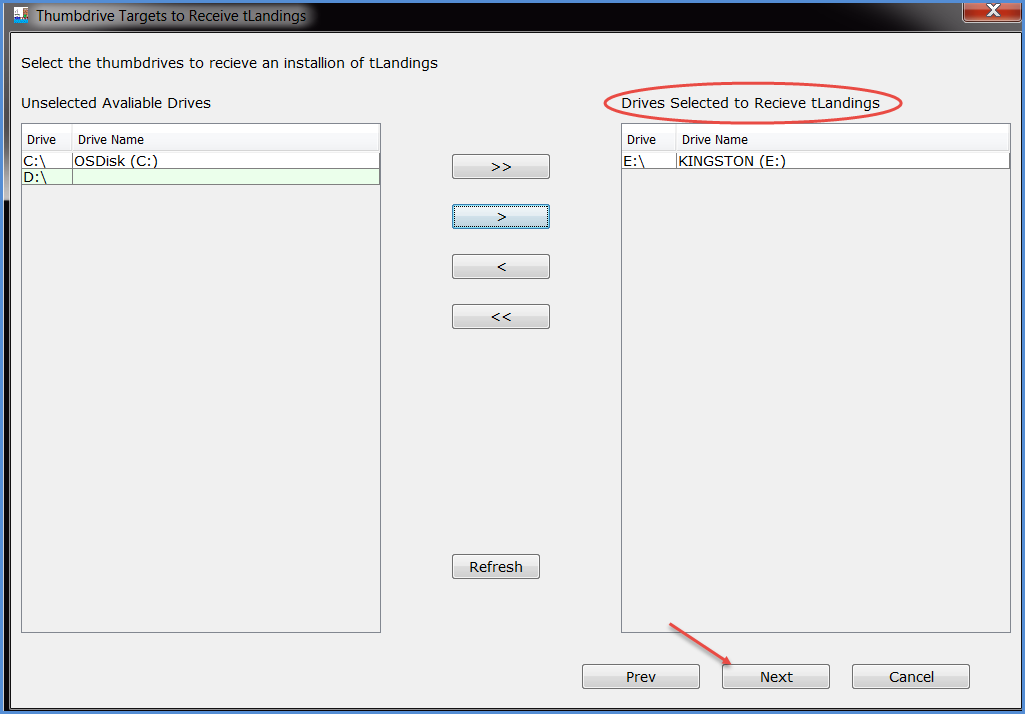
Select the Thumb Drives to Configure
...
Select the USB port(s) and then click the > arrow. You can configure up to 10 drives at once, so you can select more than one USB port.
Click on the Customize Install button.

Each profile can contain the follow customizations:
...
Select the button titled: ADD NEW PROFILE.

When you click the New Profile button, a dialog box appears requesting the name for the new profile.
Enter a name for the new configuration profile.

The Settings window with seven tabs will display. We will review each tab.
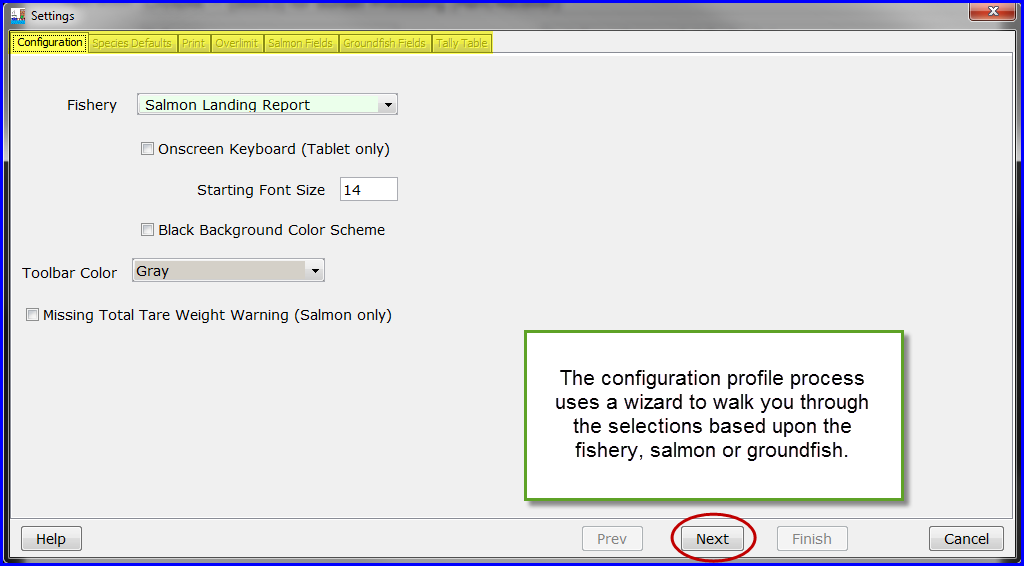
The seven Tabs are:
Configuration – allows you to select the fishery – salmon or groundfish and the reporting platform – laptop or tablet. The default font size for the laptop is 14.
...
You can add, edit, delete and rename each species default.

When you click on the Add button a dialog box opens and request that you decide how you want to obtain the new Species Default – create a new one, download from eLandings or copy another species default from a stored profile. We will choose to Create an empty Species Default file.
...
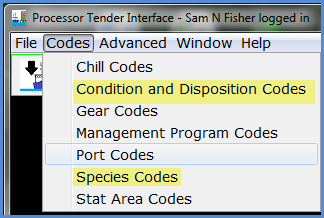
Using the species codes and delivery condition codes, type in the Species code, tab to the delivery Cond and enter the code and tab to the next row. Notice that the text will autofill. All codes are easily available from the PTI Codes, dropdown menu.

Note: You do not need to record any grading/pricing information. This is optional.
Prices can be changed by the tender operator, in tLandings, while on the fishing grounds.
The Species Default table is stored with all other PTI files.
Once you have entered all the information you want in the species default tab, hit the Save button. This will bring you back to the Species Defaults tab where you should see the species profile you just created.

Click the Next button.
Print Tab
The next tab is Print.
...