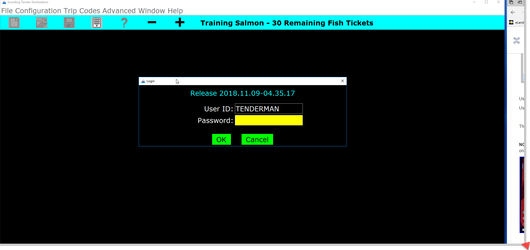
User ID and Password to Use for this Exercise
...
To complete this exercise you will need to have the Processor Tender Interface, 2019 TRAINING 2019 tLandings Processor Tender Interface (PTI) Installer Download 2024 PTI Download Instructions downloaded to your workstation or laptop and one unformatted (empty) tLandings thumb drive inserted into a USB port.
...
With the operation and tender selected, click on the Next button in the lower right hand corner.Select the USB drive letter for the thumb drive(s) and click the right arrow button to add it to the list of target drive(s) names. Click Next to continue.
Select the USB port(s) and then click the > arrow. You can configure up to 10 drives at once, so you can select more than one USB port.
...
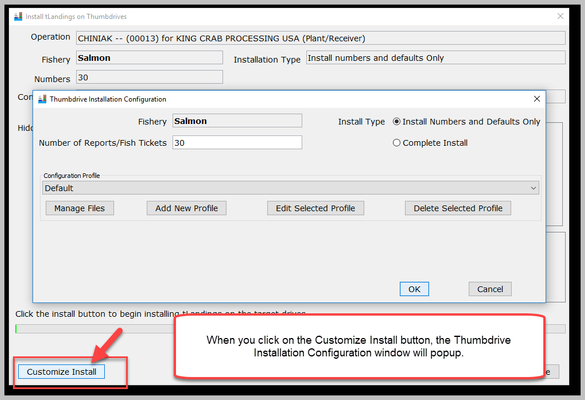
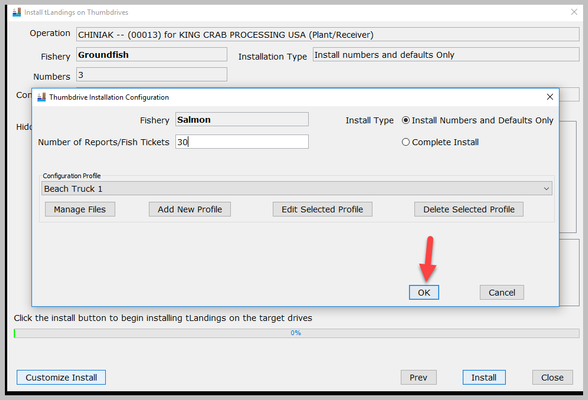
We're going to customize this installation for a tablet, so click on the Customize Install button. When you click on the Customize Install button, the Thumbdrive Installation Configuration window will popup.
The configuration proles is set to Default. Click on the Configuration Profile dropdown arrow to see all the established Configuration Profiles.
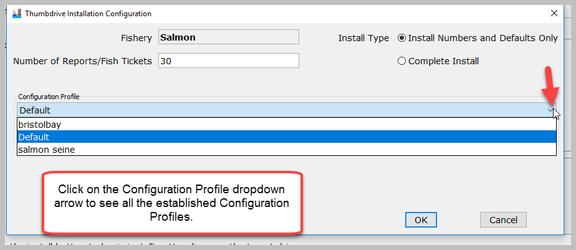
The most recently used profile displays first, which here is bristolbay. I have two other profiles, Default and Salmon Seine. Yours might be different depending on who was last using this training login.
...
You can add price or leave all deliveries unpriced. If you do not want to price deliveries, you will need to enter a value, which is “.00”.
| Note |
|---|
You do not need to record any grading/pricing information. This is optional. Prices can be changed by the tender operator, in tLandings, while on the fishing grounds. |
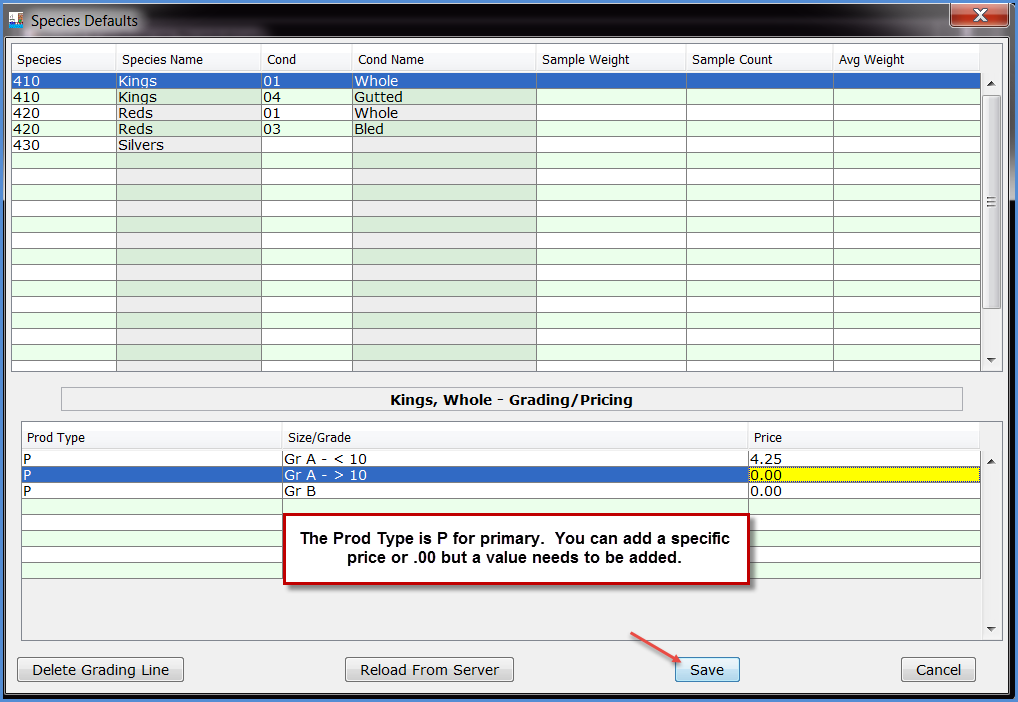
Once I have saved the file, the PTI automatically returns to the Settings page – Species Default tab.
...
The Salmon Fields - tab allows you to customize the display of tLandings to simplify reporting and display only those data fields ADF&G and your company to complete. If you choose Salmon as the fishery, the wizard will display this field.
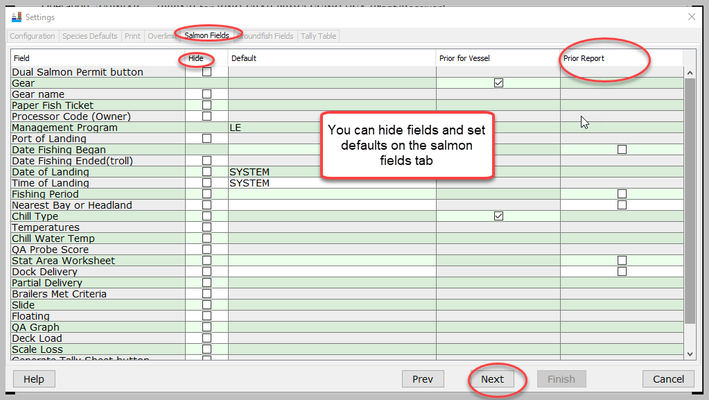
Below is the default display for tLandings without any hidden fields. Please review this display and ask yourself, “what fields can I hide to make the data entry for tender staff easier?”

I have decided to hide several fields by clicking the Hide boxes. I also want autofill for values (enter the first time for this thumb drive and then the value autofills) Date Fishing Began, Nearest Bay or Headland, and Stat Area Worksheet.
Please note the Default column on the Salmon Fields tab. This feature allows you enter specific values that will display on all tLandings fish tickets. This can be helpful when you have a set net site delivery area with one statarea or one nearest bay/headland. If you know that the thumb drive you are configuring will be used the same day or the next day, you can also enter the date fishing began. Date of landing and time of landing are autofilled from the tLandings system.
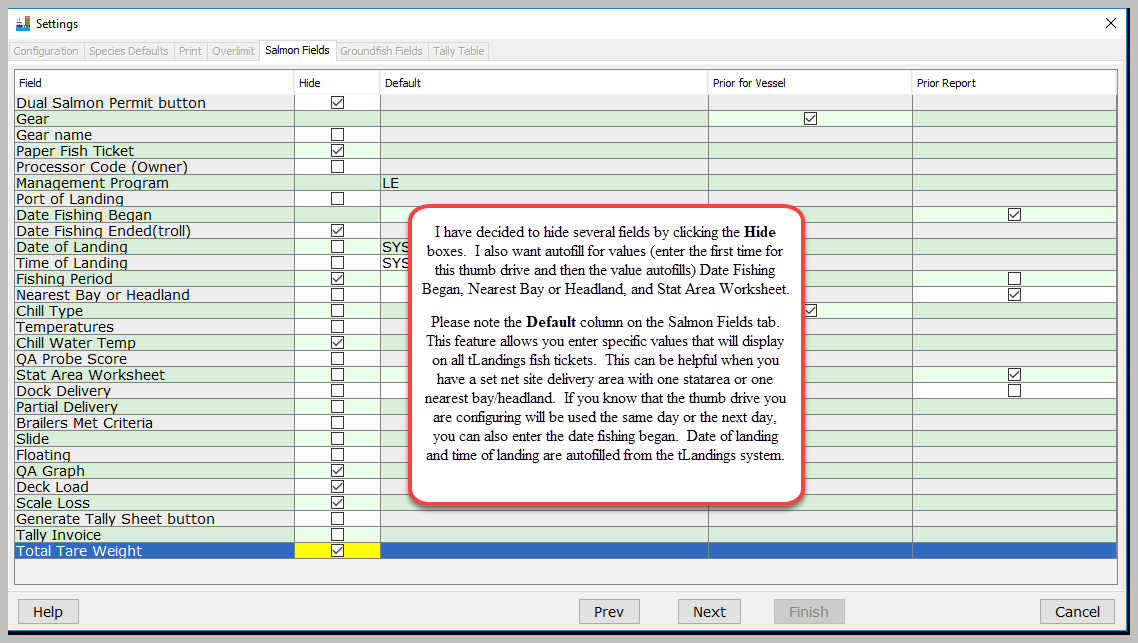
Note: Default values and Prior Report values can be extremely helpful is simplifying reporting, but it can also populate multiple fish tickets with incorrect information. These features are not appropriate for tenders that take deliveries from catcher vessels harvesting in multiple statistical areas.
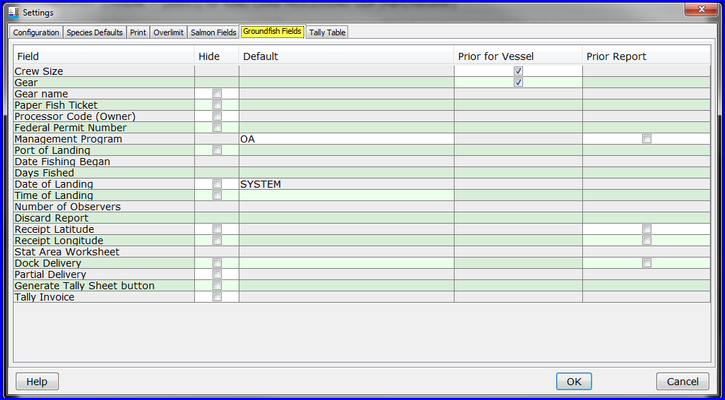
6. GROUNDFISH FIELDS TAB
If you choose Groundfish as the fishery, this is the next tab the wizard will display. You are configuring the thumb drive for salmon in this exercise, but please be aware that the PTI not only supports groundfish, but also allows you to customize fields on the Vessel tab.
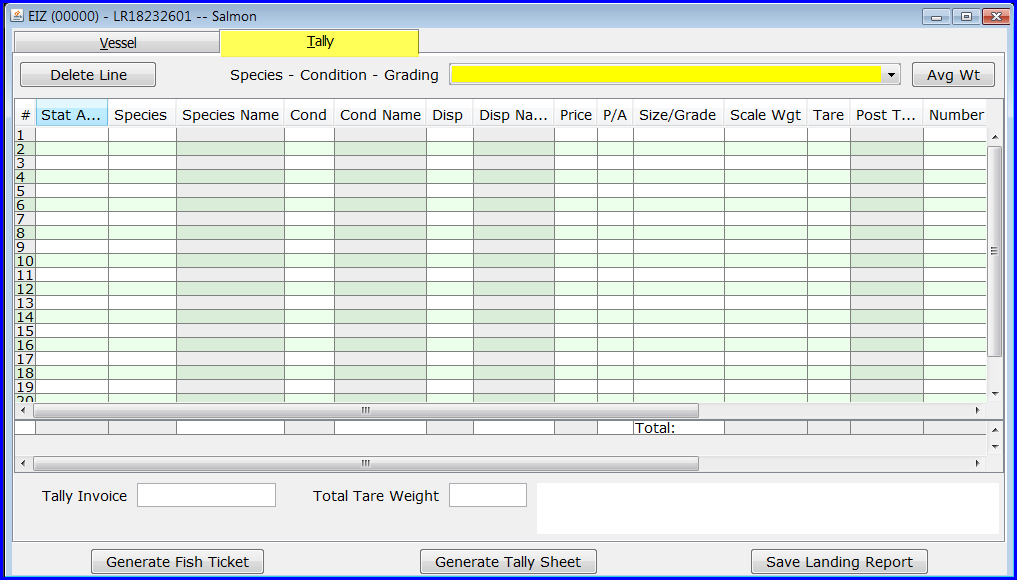
7. TALLY TABLE TAB
Tally Table – is the last tab, used to customize fields in both groundfish and salmon. This screen allows you to hide columns that are not needed for the activity of the tender. Below is the standard display for the Tally page in tLandings.

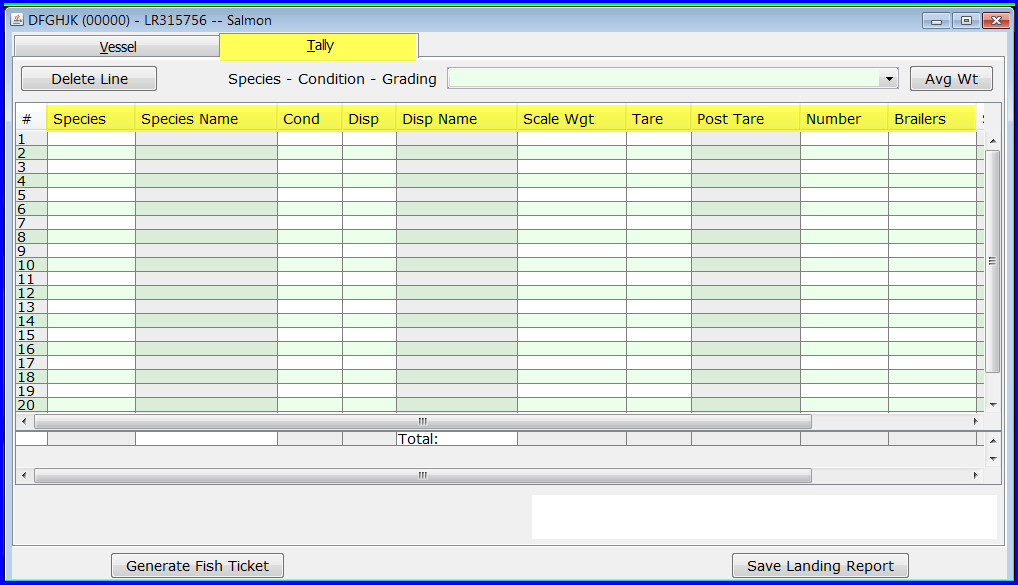
The display of columns is now simplified. The tender operator completing fish tickets do not need to guess what columns are important and what columns can be ignored.
Once you have made the selections on the last tab of the Settings window you are ready to configure thumb drives with the tLandings application, your operation information (processor code, port, etc.), 30 fish ticket/landing report numbers, and the Configuration Profile you just completed. Click OK to close the Thumbdrive Installation Configuration window.
Prior to install you should review the Config Profile name and the hidden fields, columns and defaults. If correct, select Install.
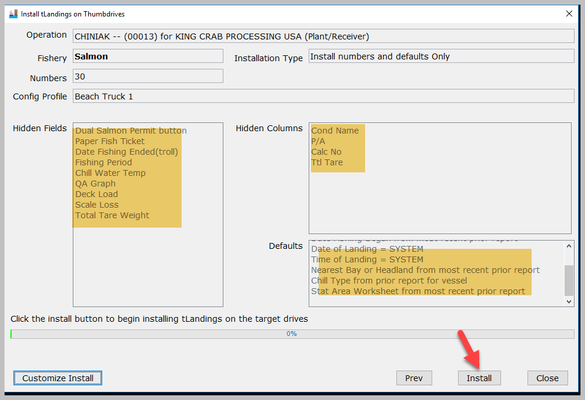
This Configuration Profile can be used for one or many salmon seasons. If you want or need to edit the profile, it is easy to do.
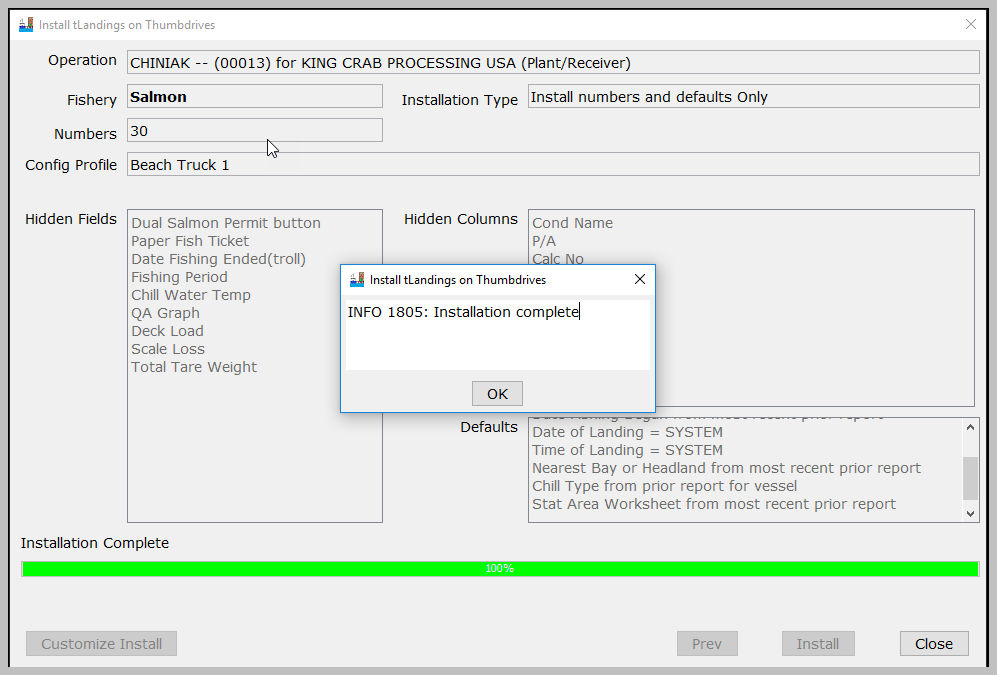
Click Install and then once the installation completes.
Click Close, to close the installation dialog. The thumb drive is now ready to use.
Open and Review the Tablet Configuration tLandings Application

Using the My Computer tool, click on the thumb drive you just configured, you will see that it is configured for the Beach Truck # 1 for KING CRAB PROCESSING PLANT using tLandings training.
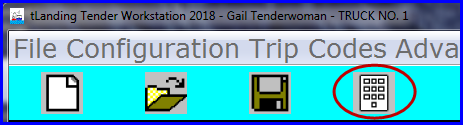
Using the stylus, double click on the icon run_tlandings in front of the run_tlandings file.
The first thing you will notice is the black background and white text, designed to reduce sun glare with the tablet.
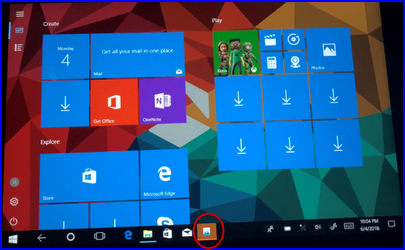
NOTE: If you are using a BAC USA Seal Tablet, this machine uses Windows 10 with a tablet mode. When you insert the configured thumb drive into the USB port, the file structure of the thumb drive is displays, as shown below. Using the stylus, click on the icon in front of the run_tlandings file. The application starts in approximately one minute. A tLandings icon will appear in the taskbar of the tablet.
The tLandings application will open. Enter the password you created for your tender when configuring the thumbdrive.
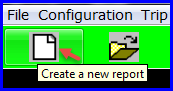
Click on the icon, Create a New Landing.
The CFEC Permit dialog box will open.
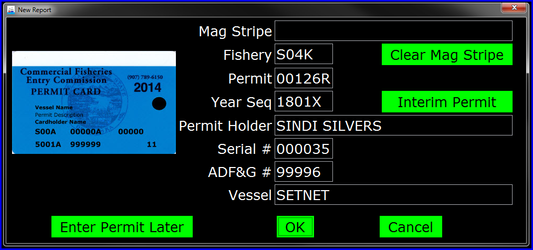
Once the permit is recorded the Vessel page will open.
NOTE: If you are able to correctly enter default values, which is frequently the case with setnet fisheries, the tLandings application will bypass the Vessel page and open to the tally page, after the CFEC permit is recorded.

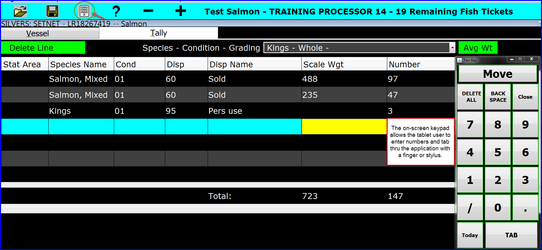
On the tally page, note the keypad icon, which will open the keypad. The keypad will allow you to enter numbers quickly. When you click the Today button, it will enter today’s date. You can move the keypad around the tablet screen by clicking the Move button. You will have 4 seconds to move the keypad.

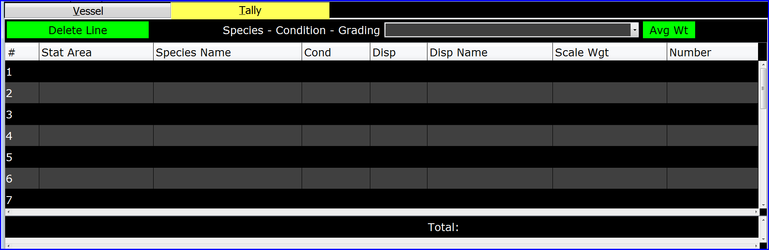
The Tally page allows you to record the species, delivery condition, disposition, scale weight and number of fish. You can also establish the average weight, which allows for the automatic calculation of number.
eTablet supports electronic signatures which are transferred to the printed fish ticket.
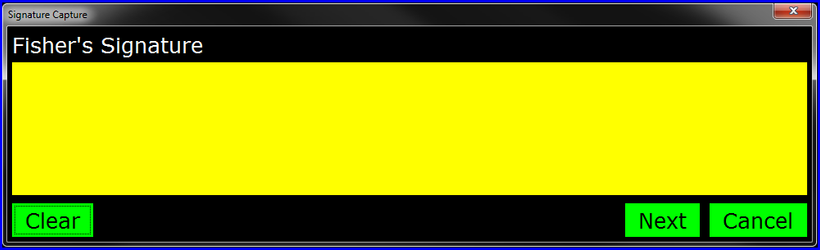
Once the fisher’s and buyer’s signatures are captured, a PDF of the fish ticket is created, ready for printing.
Once you have reviewed the eTablet display, close the application and remove the thumb drive.
Please follow procedures to safely remove the thumb drive. This may be done several different ways, but the quickest and easiest method is to LEFT Click on the “Safely Remove Hardware” icon in the system tray (lower right corner of task bar).