eLandings User Manual
How to Configure tLandings for Salmon Troll with the PTI
Open the Processor Tender Interface (PTI)
Locate the Processor Tender Interface (PTI) from the icon on your desktop. When you download and install the PTI, an icon will be placed on your desktop.
Please use the PTI application for the current year. Make sure you have the most recent version, visit 2024 PTI Download Instructions for the latest and greatest version.
Double click on the PTI icon on your desktop.
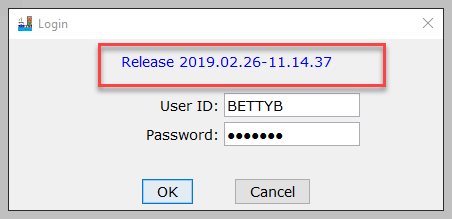
Log in using your User ID and Password. Note the Release information in the Login window. Press the OK button to login.
Prepare Files For Tender
Click the "Prepare files for tender" button in upper left corner, as your goal is to configure a thumb drive with the tLandings application with your operation defaults.
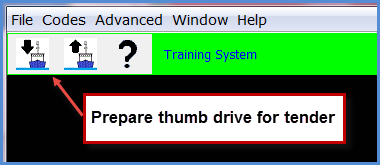
The PTI operates as a wizard, guiding your thru the steps to configure the thumb drive, screen by screen. Most prompts will be NEXT buttons in the lower right hand corner. When you click on the down arrow boat icon (Prepare files for tender), a dialog box, Tender Configuration, opens with a list of all operations associated with your eLandings user account. You may only have one operation to select.
How to Add a Tender
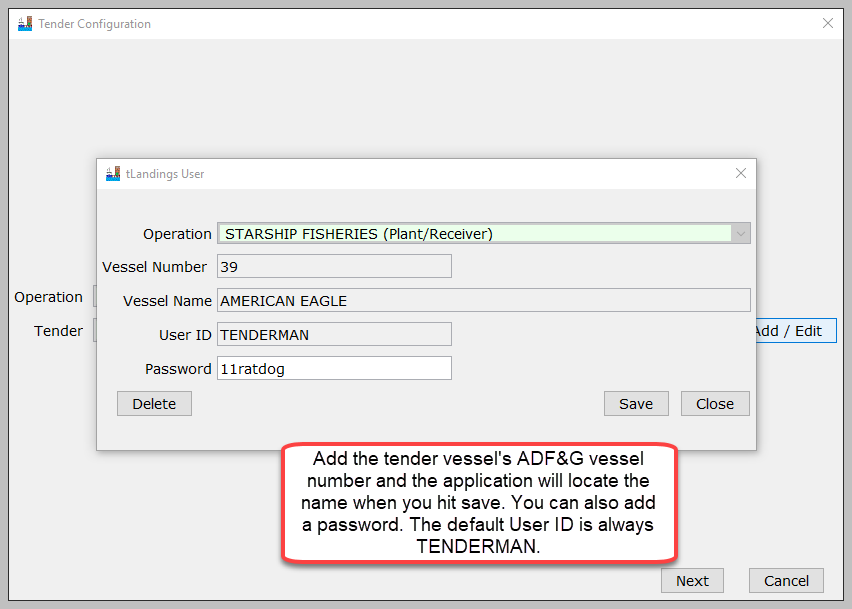
Once you select the operation, select the tender to begin the configuration process or add a tender.
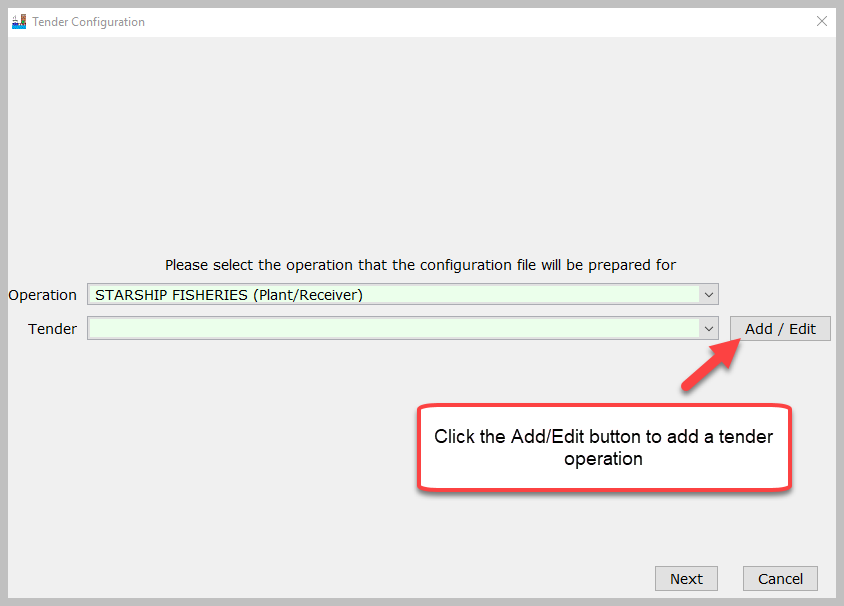
Add the tender vessel's ADF&G vessel number and the application will locate the name when you hit save. You can also add a password. The default User ID is always TENDERMAN.
Select the Thumb Drives to Configure
Select the USB drive letter for the thumb drive(s) and click the right arrow button to add it to the list of target drive(s) names. Click Next to continue.
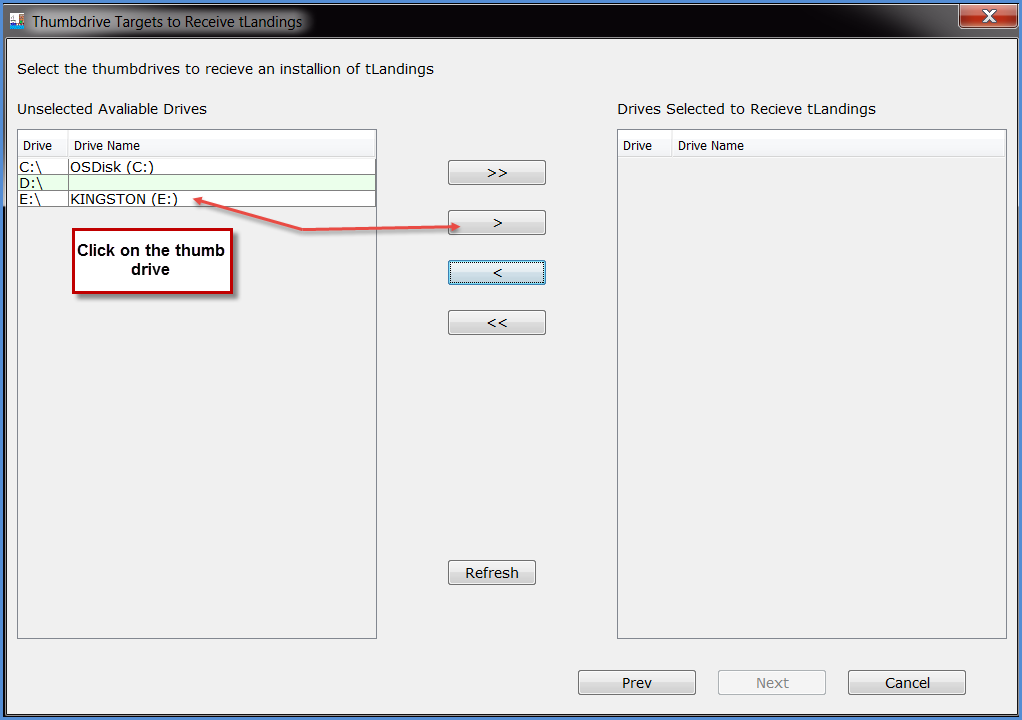
Select the USB port(s) and then click the > arrow. You can configure up to 10 drives at once, so you can select more than one USB port.

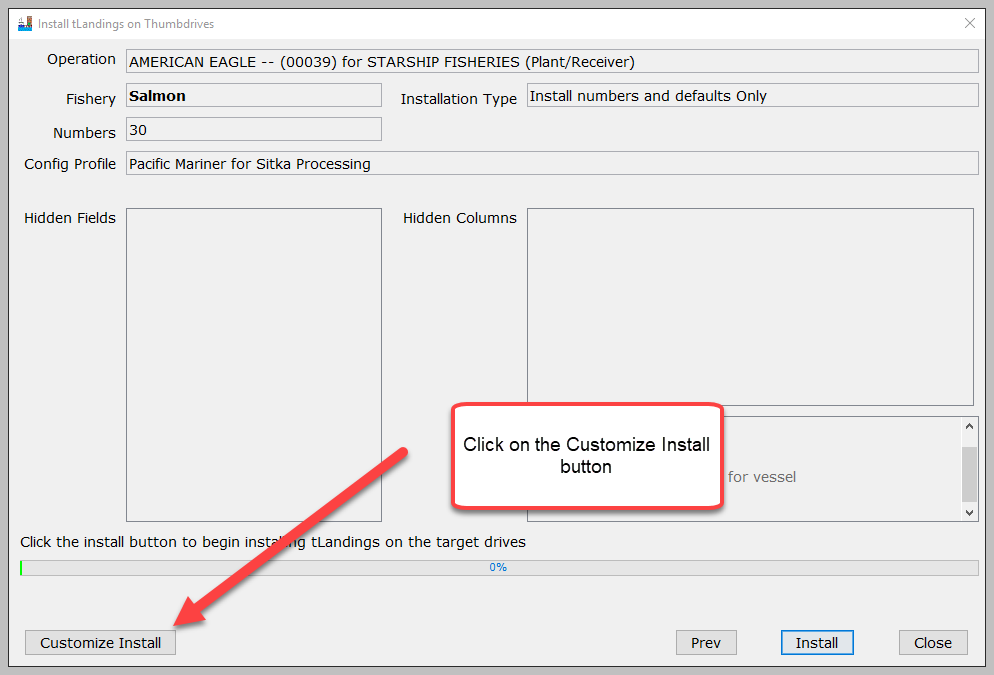
Click on the Customize Install button.
Configuration Profile
Each profile can contain the follow customizations:
- Customized hidden fields (Vessel Tab)
- Customized hidden columns (Tally Tab)
- Unique species lists for salmon and groundfish, as well as salmon troll.
- Default values can be establish with any profile, but should be used very carefully.
- Default values from the prior landing report can also be established in the profile.
- The number of reports/Fish Tickets can be defaulted to a specific number or modified with each thumb drive configuration.
Select the button titled: ADD NEW PROFILE.

When you click the New Profile button, a dialog box appears requesting the name for the new profile.
Enter a name for the new configuration profile.

The Settings Window with Seven Tabs
The Settings window with seven tabs will display. We will review each tab.
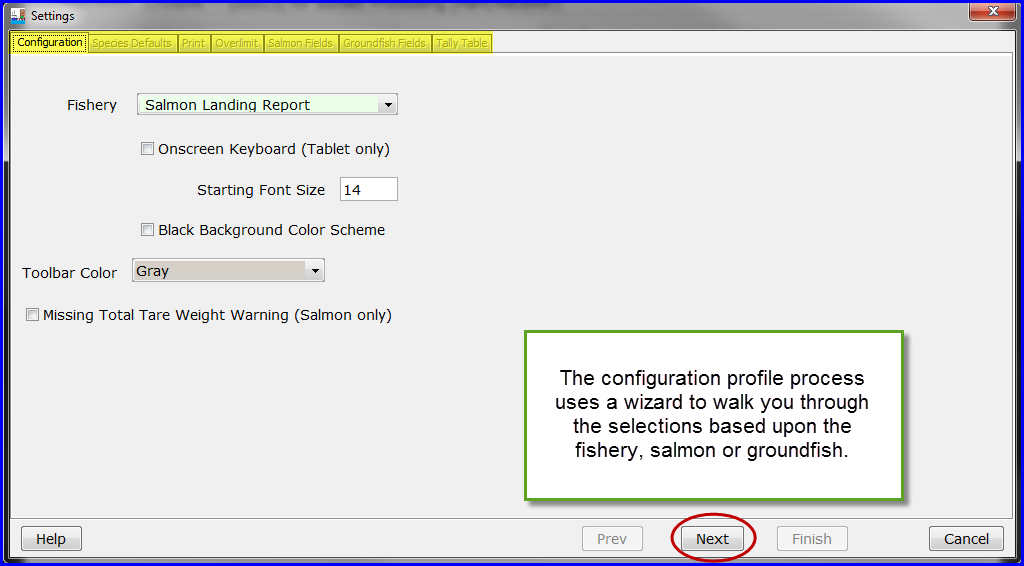
Configuration Tab
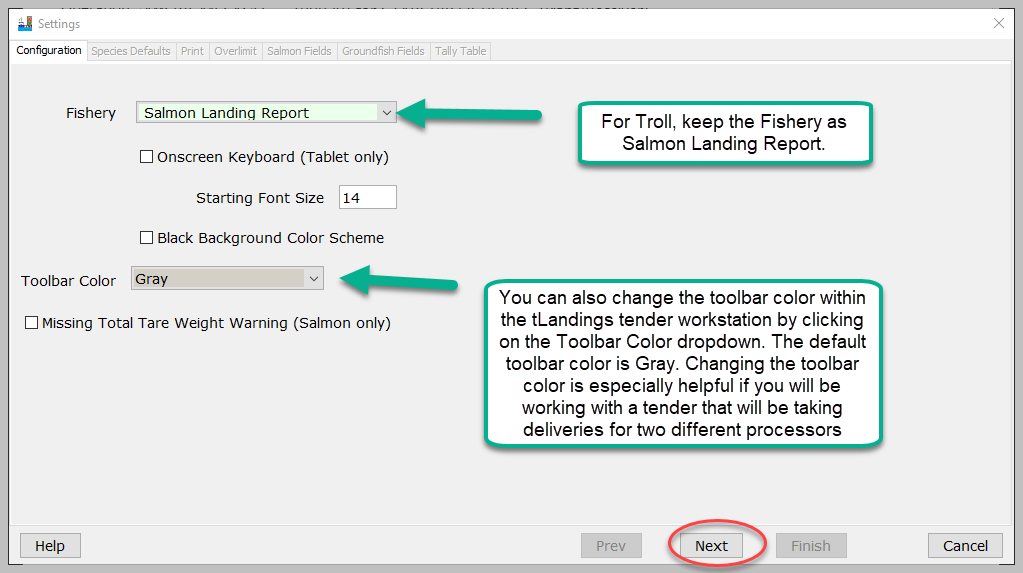
Configuration – allows you to select the fishery – salmon or groundfish and the reporting platform – laptop or tablet. The default font size for the laptop is 14. You can also change the toolbar color within the tLandings tender workstation by clicking on the Toolbar Color dropdown. The default toolbar color is Gray. Changing the toolbar color is especially helpful if you will be working with a tender that will be taking deliveries for two different processors.
For Troll, keep the Fishery as Salmon Landing Report.
Then click the Next button. This will bring you to the Species Defaults tab.
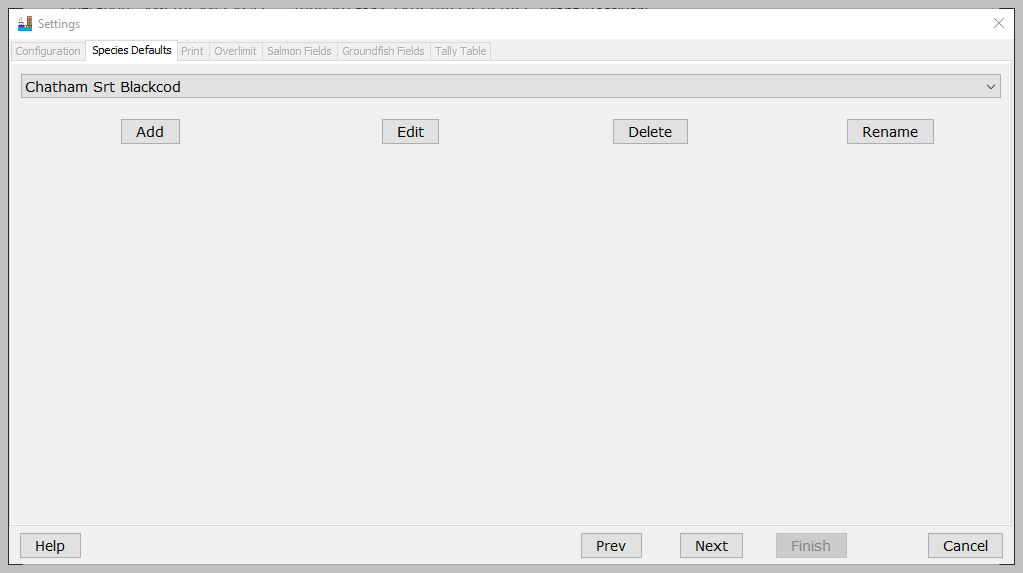
Species Defaults Tab- Creating a New Species Default File
Species Defaults – allows you to manage species lists customized for specific fisheries and store unique species lists.
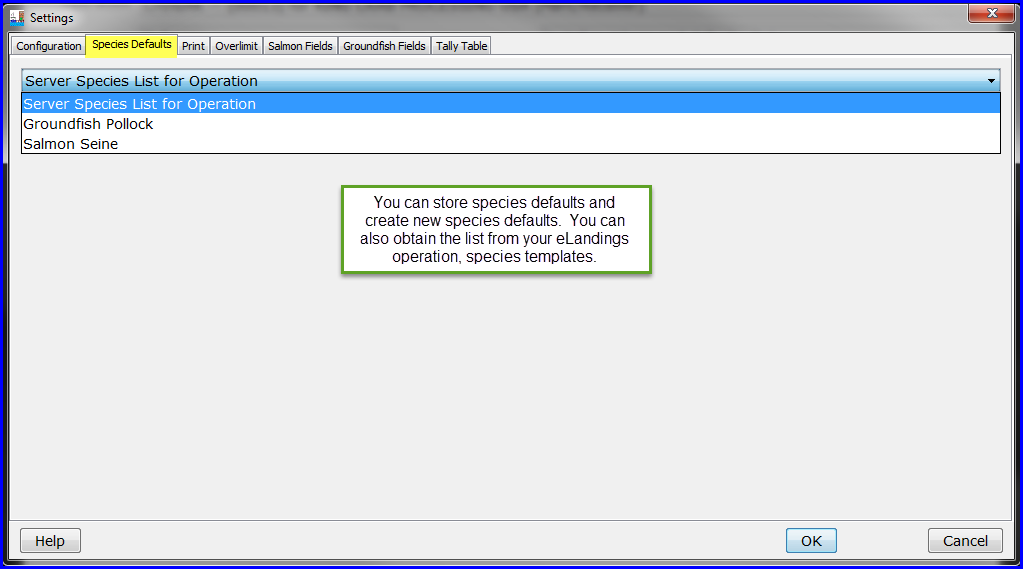
You can add, edit, delete and rename each species default.

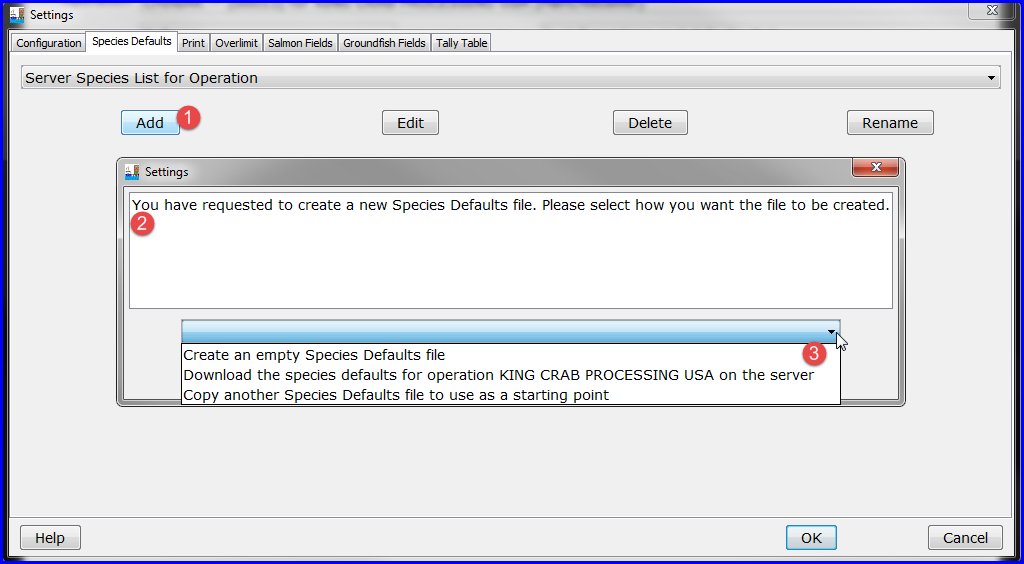
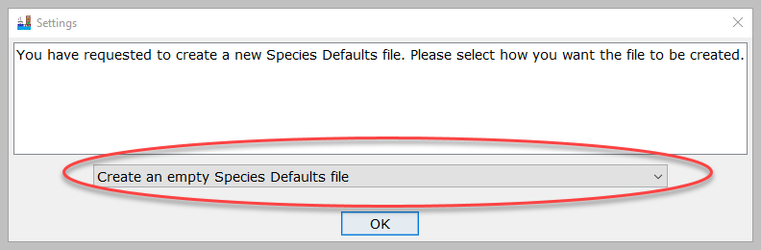
When you click on the Add button a dialog box opens and request that you decide how you want to obtain the new Species Default – create a new one, download from eLandings or copy another species default from a stored profile. We will choose to Create an empty Species Default file.
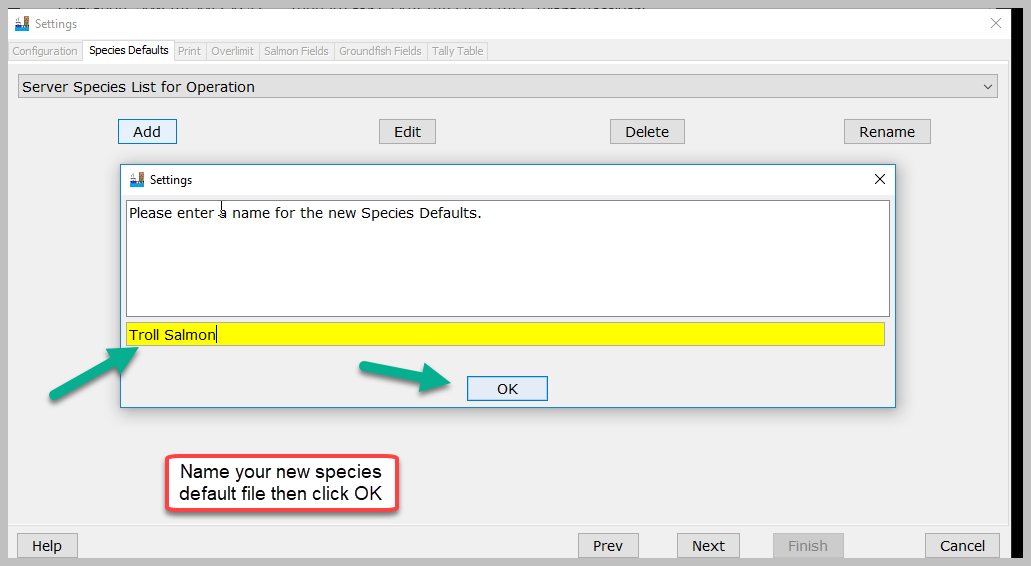
As this is a new Species Default, you will first need to provide a name. Please name your profile with a unique name.
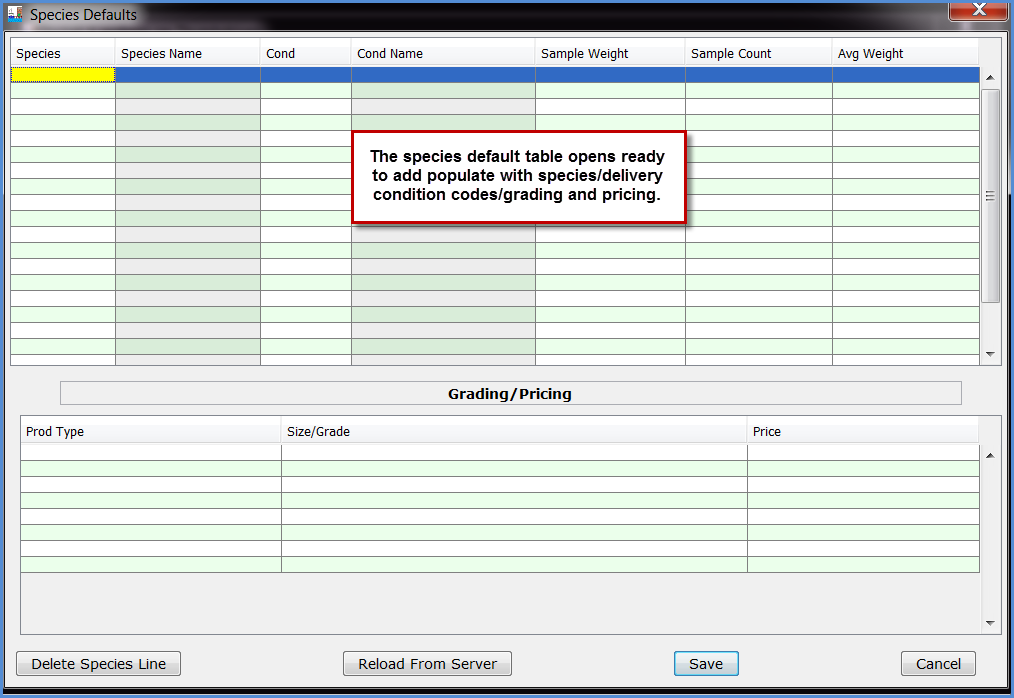
Determine the species, species codes and delivery conditions that will be represented in the deliveries this tender will encounter. Remember, to keep it as simple as possible. Your company may have many different species delivery conditions and size/grade categories, but you need to ask yourself, are they delivered to your tender fleet?
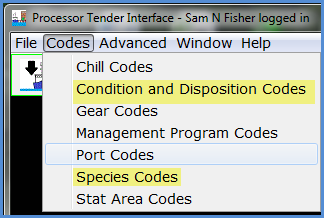
Using the species codes and delivery condition codes, type in the Species code, tab to the delivery Cond and enter the code and tab to the next row. Notice that the text will autofill. All codes are easily available from the PTI Codes, dropdown menu.
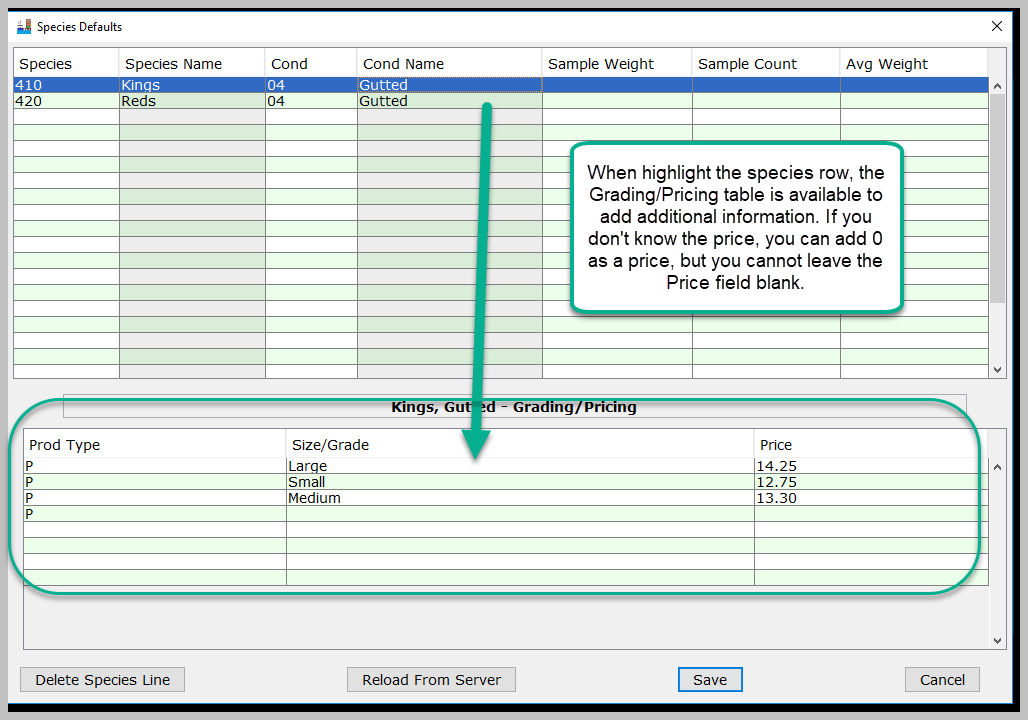
Note: You do not need to record any grading/pricing information. This is optional.
Prices can be changed by the tender operator, in tLandings, while on the fishing grounds.
The Species Default table is stored with all other PTI files.
Once you have entered all the information you want in the species default tab, hit the Save button. This will bring you back to the Species Defaults tab where you should see the species profile you just created.
Click the Next button.
Print Tab
The next tab is Print.
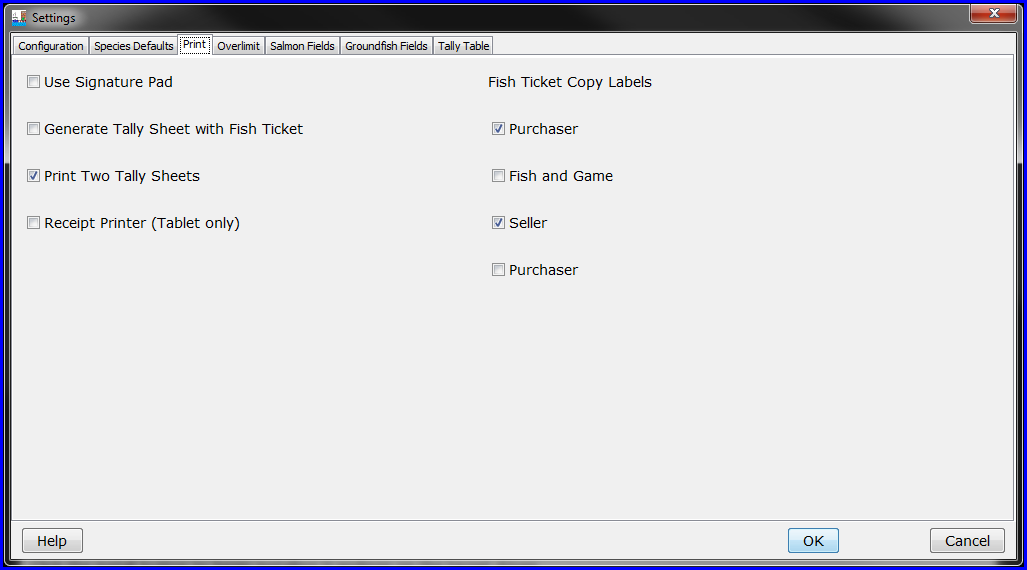
The default in tLandings is two fish tickets copies. You can also establish print two tally sheets, labels on the fish tickets and select the use of a signature pad on this tab. When you click OK your selections are saved.
NOTE: We suggest you set all tender based printers to Draft quality, which is sufficient to print a legible fish ticket and/or tally sheet.
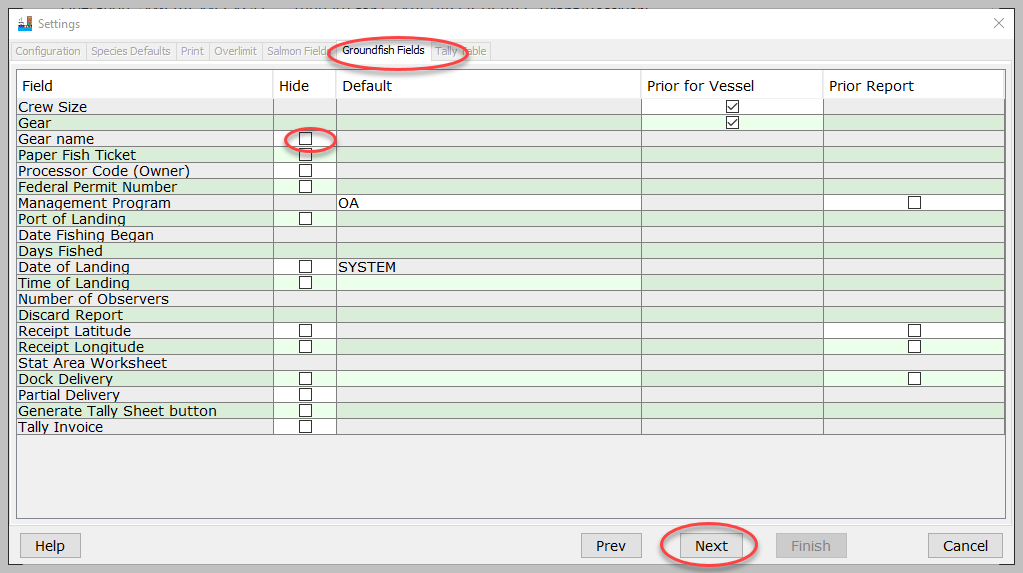
Groundfish Fields Tab
Groundfish Fields – If you choose Groundfish as the fishery, this is the next tab the wizard will display. You can hide fields by clicking the Hide check mark for each field you want hidden. Click the Next button.
Tally Table
Tally Table – is the last tab, used to customize fields in both groundfish and salmon. This screen allows you to hide columns that are not needed for the activity of the tender. .
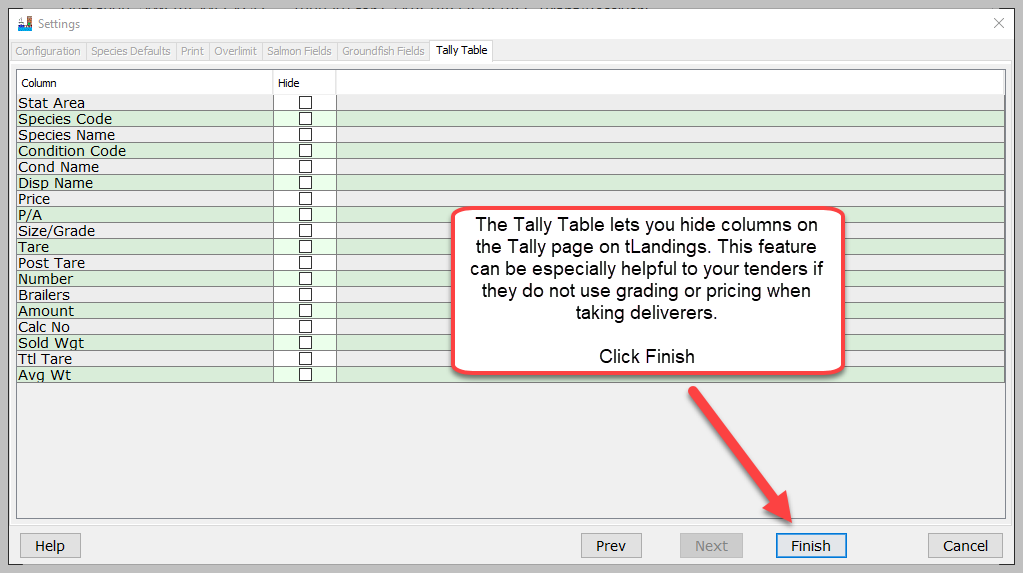
The display of columns is now simplified. The tender operator completing fish tickets do not need to guess what columns are important and what columns can be ignored.
Once you have made the selections on the last tab of the Settings window you are ready to configure thumb drives with the tLandings application, your operation information (processor code, port, etc.), 30 fish ticket/landing report numbers, and the Configuration Profile you just completed.
This will bring you back to the Thumbdrive Installation Configuration window. Click on the Install type you need and then hit the OK button.

Once you have made the selections on the last tab of the Settings window you are ready to configure thumb drives with the tLandings application, your operation information (processor code, port, etc.), 30 fish ticket/landing report numbers, and the Configuration Profile you just completed.
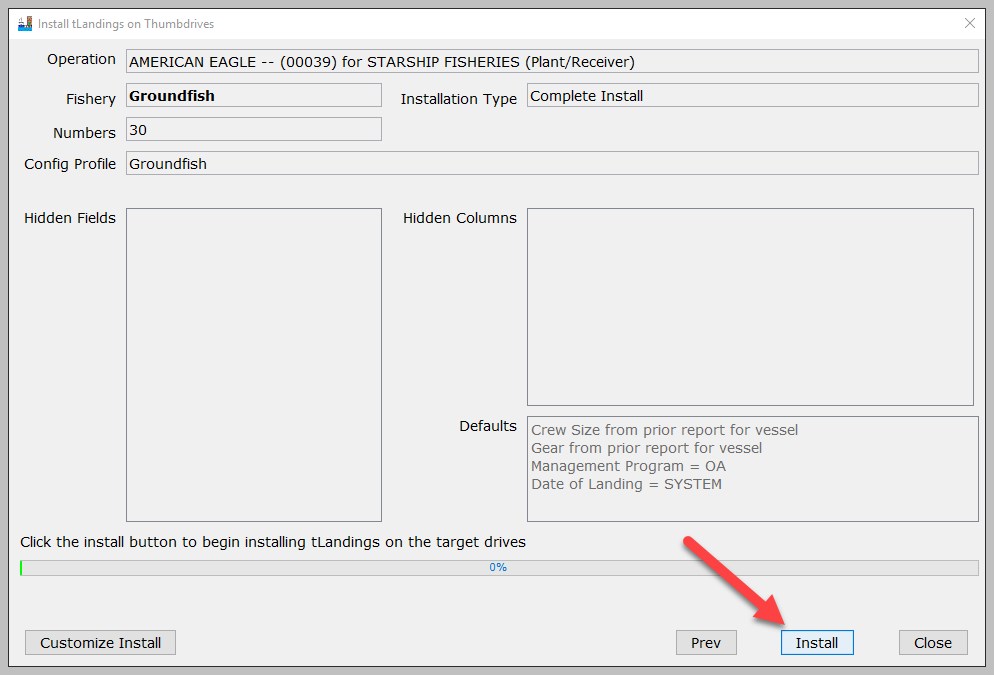
Prior to install you should review the Config Profile name and the hidden fields, columns and defaults. If correct, select Install.
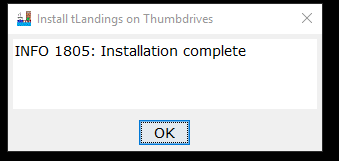
You should see a successful installation dialog. Click OK.
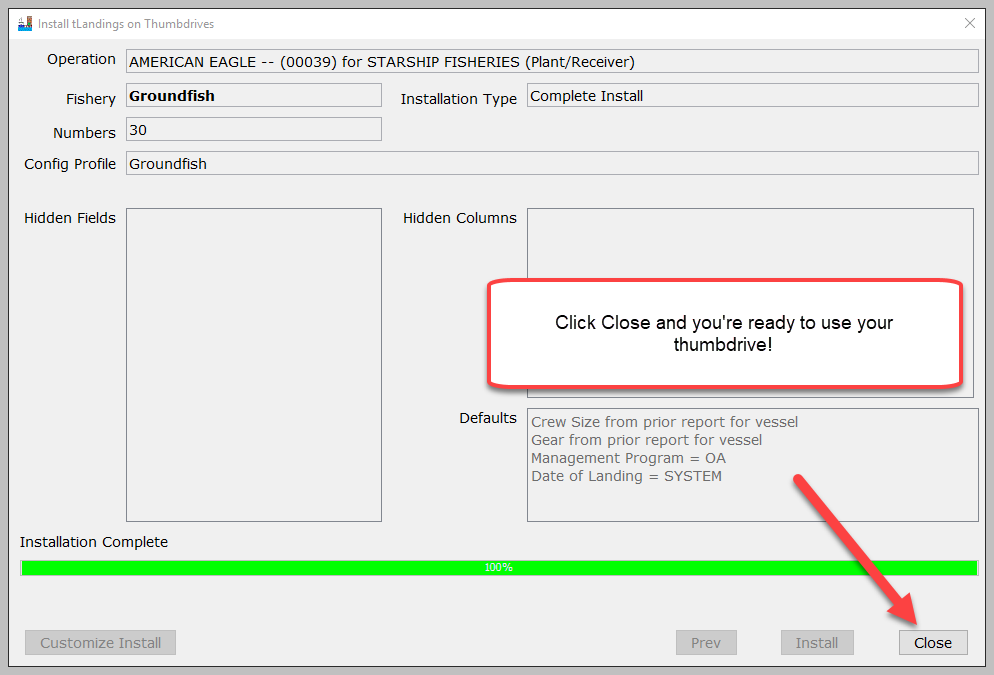
Click Close, to close the installation dialog. The thumb drive is now ready to use.
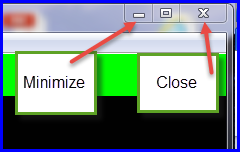
Minimize or Close the PTI.
Open Your Newly Configured Thumb Drive
Using the My Computer tool, click on the thumb drive you just configured.
When you click on the Add button a dialog box opens and request that you decide how you want to obtain the new Species Default – create a new one, download from eLandings or copy another species default from a stored profile. We will choose to Create an empty Species Default file.